In this Blog I will outline my progress throughout this process.
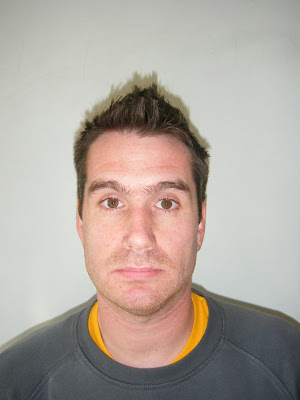
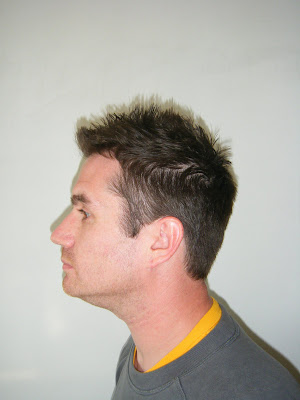
Firstly, In order to even begin to attempt this task, I needed some photographs of my face - front view and profile view.
The images below were taken by Richard Barnes for use throughout this project.
Face On Picture:
Profile Picture:
Adobe Photoshop was then used to prepare the photos for implementation within 3DS Max.
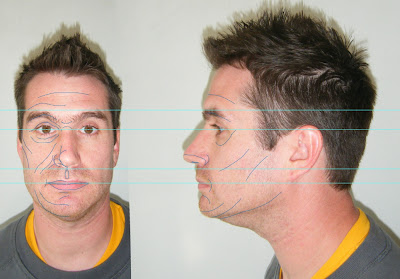
The Face-On and Profile Images were imported into Photoshop in order to create a reference plane to work from to assist when modelling the head.
Lens Distortion was removed from the pictures using the Lens Distortion - Correction filters to gain the correct perspective within the images and to attempt to remove any inconsistencies from the camera. While the Straighten tool was used to correct any uneven symmetry in the photographs.
The images were then pasted together within Photoshop and lined up so that the face on image was aligned with the profile image. Rules were then used to create horizontal lines as tools to match up the two pictures. Key parts of the face were used: the center of the pupils in the eyes, the bottom of the nose, mouth line etc.. In order to line up the face as accurately as possible.
Topology:
The flow of surfaces across your object.
In order to achieve the best possible start for your model, this phase becomes very important as it provides a foundation for the future development. It helps create the actual shape and flow of the face considering and helping to outline it's definition.
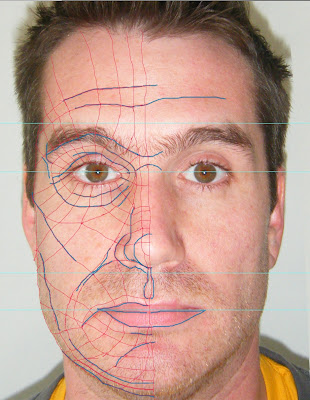
The face was broken down into key areas and the general contours within the face were highlighted with a blue line using the brush tool in photoshop. Outlining the creases in the face, isolating areas and providing character.
Contour Lines:
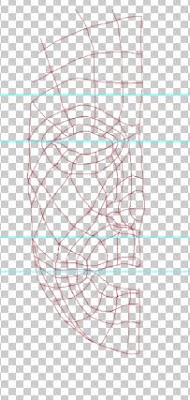
Once satisfied with the blue contour lines. Another separate layer in Photoshop is opened and then a red brush is selected to draw the quad lines, which help in the sub division of the model and while smoothing later.
In this phase I began tracing over the blue contour lines using the red brush on a new layer within Photoshop, linking together other key contour lines that highlighted the muscles using the tutorial image of muscle structure in the human face as reference.
I attempted to do it slightly differently to the tutorial in that I created vertical flowlines down the face first in order to try and gain a feel of how the muscles flow behind the face. I'm not sure if this was the correct approach, though it helped me visualise how the quads could be formed easier and forsee how the lines would come together while trying to keep the likeness to my face as realistic as possible.
At this point I have to say that I wasn't satisfied by my first attempt. I showed it to a friend and he pointed out some potential flaws in my future modelling as there were still areas on my facial "grid" that had triangles and the flow of the face was incorrectly mapped out.
I was very frustrated to hear this due to my poor skills in photoshop with a brush and the fact that it had already taken me about four hours to complete the steps to here. I was somewhat disheartened.
I took his advice on board and decided to create a second attempt. I am now extremely grateful as going back into the drawings and redrawing my lines the second time was a successful exercise and I felt pleased with my results. It also improved my photoshop brush skills as I was able to draw this one much more effectively and in half the time.
Attempt 1:
The ones I didn't feel were quite right:
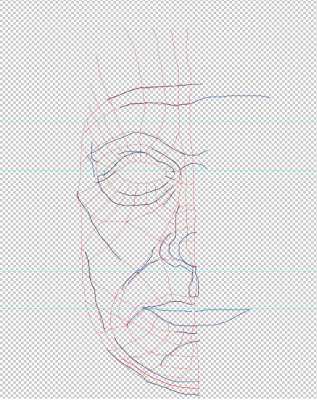
Attempt 2:
Revised Drawings:
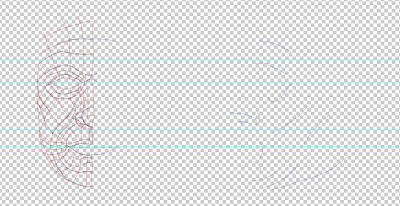
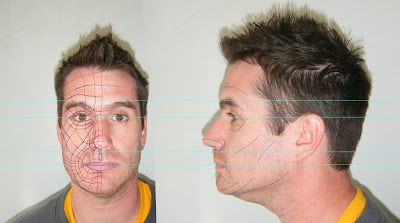
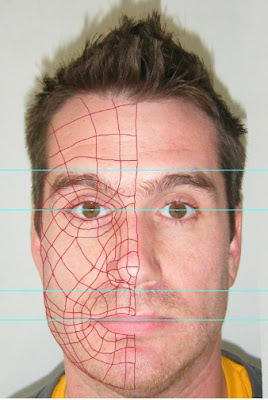
Reference Planes were created for the preparation of modelling the face.
To start, a reference plane was created:
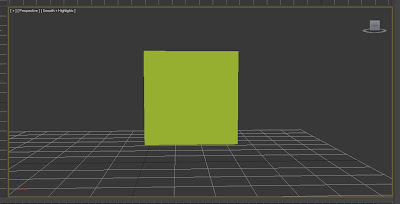
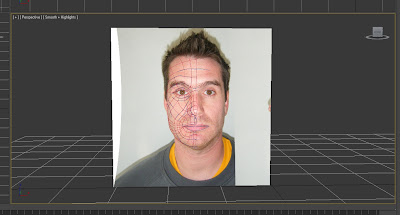
The front of the face image was added to the plane via materials and was positioned correctly in the center of the plane using the UVW mapping modifier.
This created the front perspective view of my face.
Front Image:
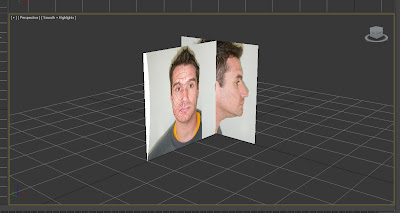
Next, I needed to see the profile image to be created on a plane. So I duplicated the first plane and rotated it at an exact 90 degree angle in alignment with my front view.
The profile image then had to be flipped so it was facing the correct way and checked that it was completely inline with the front view, ready to model.
Reference Plane:
One Issue I have found during week 1 is that every time I re-load up 3DS Max, my photo images are blurry.
The way i have managed to overcome this is prior to opening my file in 3DS Max select customize - preferences - view ports - configure driver (and tick everything).
When the file is opened now the images display at the correct quality.
No comments:
Post a Comment