To commence mapping I selected editable poly in the modifier selection and turned off symmetry so that I would be working with my original R side of my face.
The unwrap UVW modifier was added and the sub selection tool face selected. I made my L viewport full screen so that it was clearer for me to work on.
Paint selection was used to paint the entire face excluding the ear, clicking and dragging the "spray can" over the face surface.
Preparation:
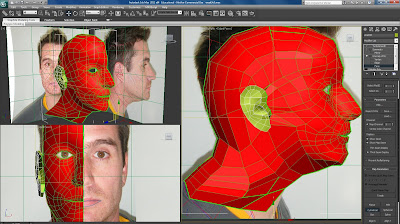
When the entire face was fully painted I moved down to the map parameters. In the sub object selection "cylindrical" was selected and I ticked align-z to align the face. Using the scale tool the cylinder was modified to surround the entire head and centre it within, also trying to make sure there were no green seams other than down the centre of the head and around my ears.
I opened the material editor (m) and applied a "checker" pattern by selecting (button beside) diffuse and chose "checker" and hit the 'show map in viewport' button so we would see the applied material.
I checked my face to see how the structure of the squares looked as squares can show off any stretching a little easier.
Still in the UV parameters panel I selected 'edit' which opened a new window which showed my face and ear outline mapped out on a grid. Here I began to sort out any stretching.
Before I started I ensured constant update was selected so I could see the changes I made in real time and made sure the map wasn't inverted and fit nicely within the grid.
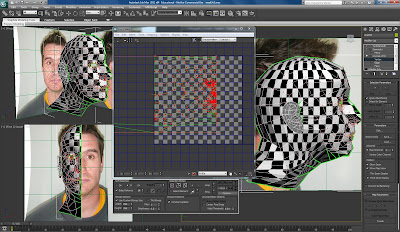
I started working my way from the top of my head as it was a key problem area for stretched quads. To rectify this I highlighted all vertices near the affected area and using 'relax' selected relax by edge angles which rounded the top of the head off a bit more effectively.
I repeated this process on all other trouble areas on my map until I had a nicely flattened out outline of the head.
Another key problem area was my neck as there were many overlapping lines. To fix this I had to use paint selection again to flatten out the neck area, dragging paint all over the vertices in that region. Here though, instead of using relax by edges like the majority of the face I used 'relax by centres' which helped make the checker pattern more uniform .
Face Map:
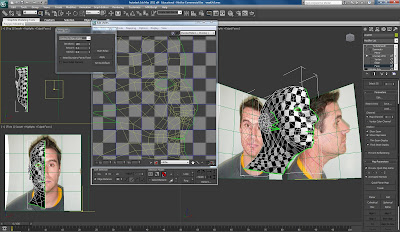
I felt I tried my best here, though I was aware that I had to hand in my model. In an ideal world I would have liked to have spent a little more time over this process ensuring that there was no stretching whatsoever, unfortunately at this stage there still is a little on the top of my head and neck area. Possibly my lips also could require a little more attention.
Ear:
Mapping the ear follows pretty much the same procedure as the head.
In material mode I turned off the checker material. In map parameters 'planar' was selected this time instead of 'cylindrical' (above). The planar shape was dragged over the ear area, align-x and 'fit', so it was secure around the ear.
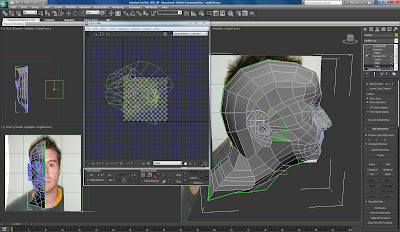
Within Pelt mapping dialogue box the outer ring of the ear was selected, pulled out, rotated and flattened. Using the point to point tool I created a break seam to flatten out the rest of the ear.
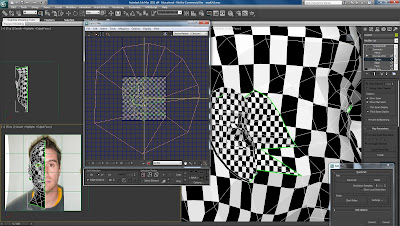
I closed the edit and applied the material again on the model. Within the normal map edit mode the ear was scaled down and attached to the grid along with the head. I turned on symmetry and applied a second unwrap uvw modifier on top of symmetry. I ensured that I selected the left face and mirrored it, lined the two sides up along the centre so that I had a full face again, albeit a little stretched.
All the vertices along the centre line were welded together and selected the left ear and it was dragged to the opposite side again mirroring the original placing.
UVW Symmetry:
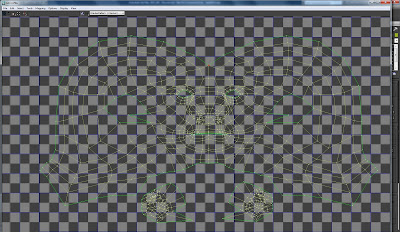
Mapped Head:

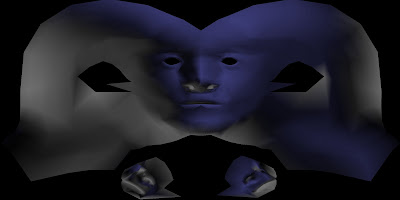
The mesh was then formatted into an image to use in photoshop using the render uvw template.
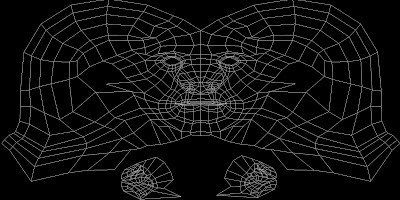
Versions were also rendered using normal and shaded options.
Normal UV Map:
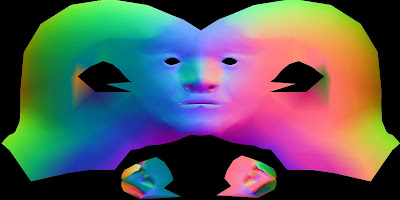
Shaded UV Map:
No comments:
Post a Comment