Monday 12 December 2011

Morpher

Hair and Turbosmooth Modifiers were removed from my final model and then converted into an editable poly. Three new copies of my head were created by holding (shift + move).

The first 'modified' head is open mouth. The second is 'eyebrows raised' and the third is 'wonky nose'.

The morpher modifier was then applied to the original head. The other three heads were then selected and their values increased accordingly to create the different actions.

Turbosmooth was then reapplied to smooth the models nicely again.


Morpher:


Open Mouth:


Wonky Nose:


(It's Mick McCarthy) :p

Using the autokey frames, a start point keyframe was selected and then the model was modified for the required facial expression by adapting the numeric value (up or down) to change each emotion of the face model. Then once happy with the movement the autokey is turned off to finalize the motion.


Video:

FINAL FACE RENDERS

Final Rendered Images of my Face:


Hair and Fur


Adding hair to the model is basically achieved by selecting the areas on the head which you want to manufacture hair. Then update selection.

The hair length, colour, root thickness and tip size can all be modified within the 'styling' modifier panel.

The brush and cut tools were used to achieve a realistic haircut. These tools were utilized until a reasonably lifelike haircut was created.


Beginning to add Hair:


Modifying Length and Colour:


Further Development:


Final Hair:


This process was quite lengthy, attempting to achieve a realistic interpretation of my hairstyle took quite a lot of time, trying to refine it to look realistic.

I am reasonably happy with my results, though with a little more time I could probably improve the final outcome.

FINISHING MY FACE...

After completing the group assignment, I was able to return to do further work on my face model.

Based on the comments given by Richard in the informal hand-in, there were a few things that i wished to continue working on and improve from my earlier development.

The next phase was to begin creating skin for my model.

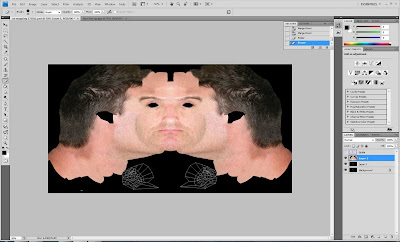
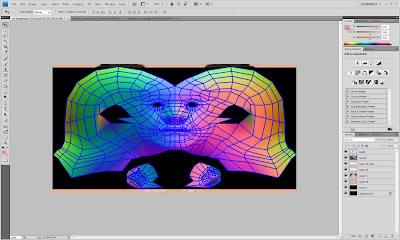
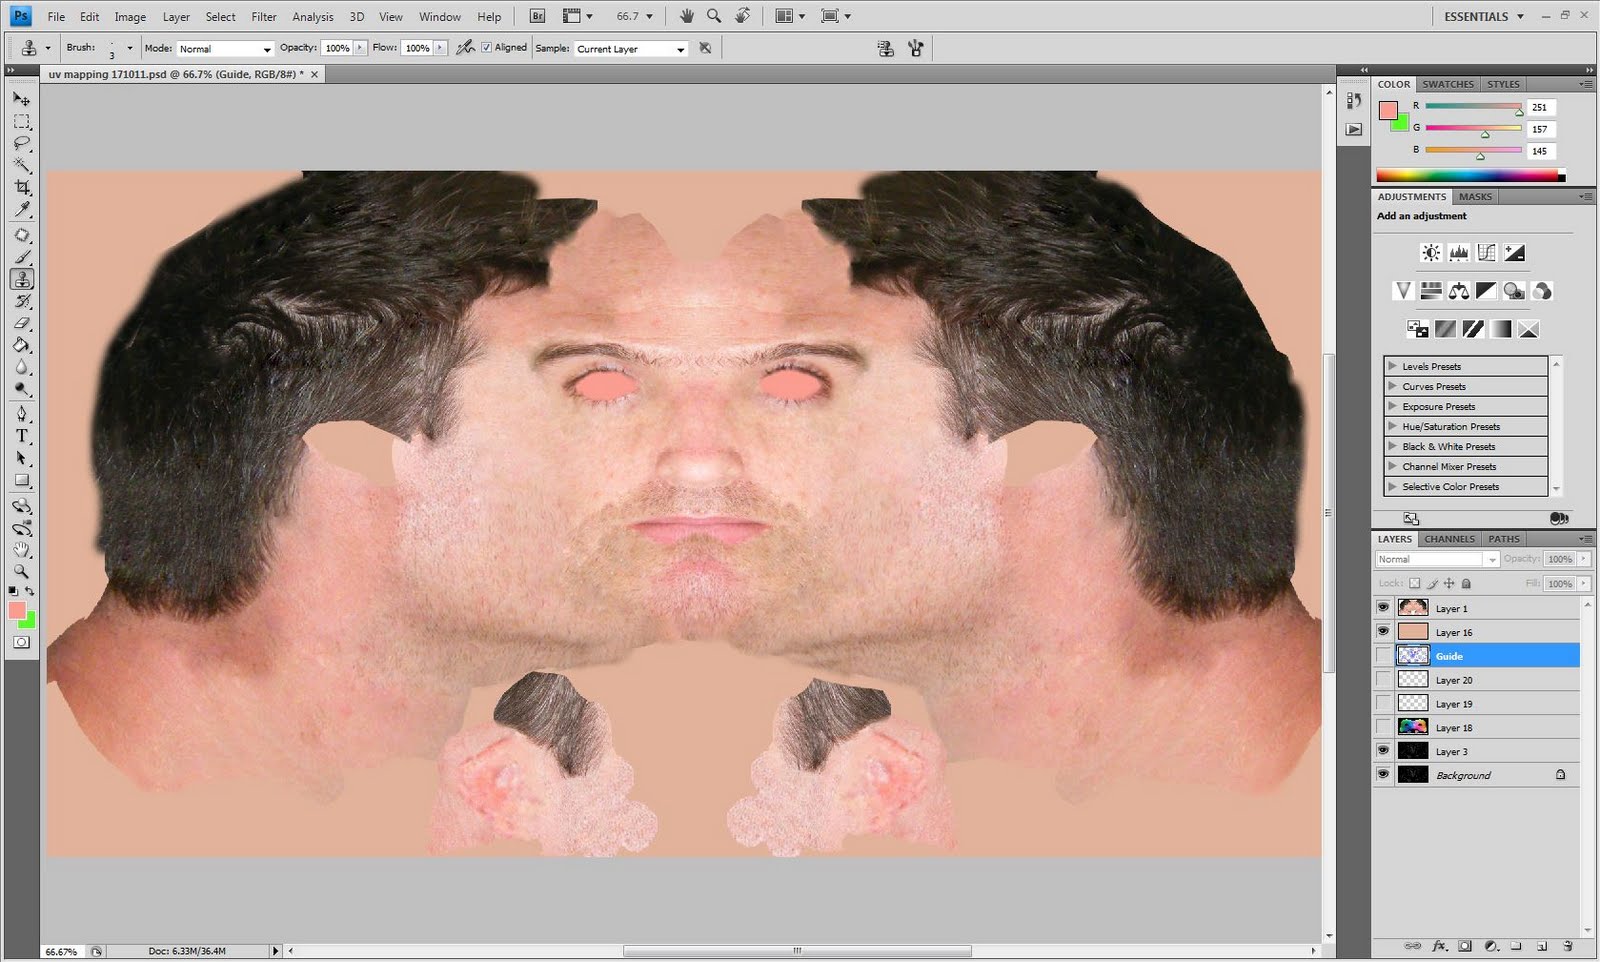
In order to achieve this I began to map the skin of my face by taking the "NONE" UVW map and importing it into Photoshop.

Then taking my original photos, i began to cut sections of the skin from my photos and attempting to match up similar areas on the UVW Map. To do this the patch and lasso tool were used within Photoshop.


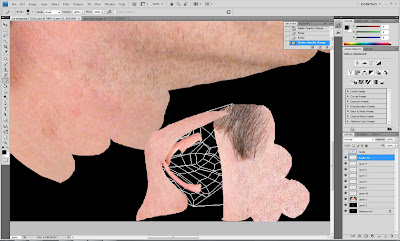
The same technique was used for the skin on the ears.


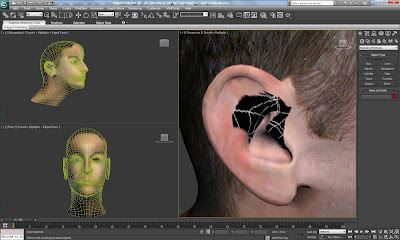
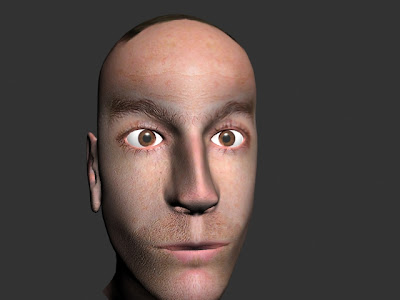
Once I was happy with the skin coverage on my UVW Map, the next phase was to tweak a few of the issues that were brought to my attention in the evaluation:

Firstly, that the nostrils needed to be a little larger and Secondly, that my eyes needed more detail and attention.

The nose was adapted simply by modifying the vertices around the nose, by pulling the vertices and making the nostrils slightly bigger.

Nose:


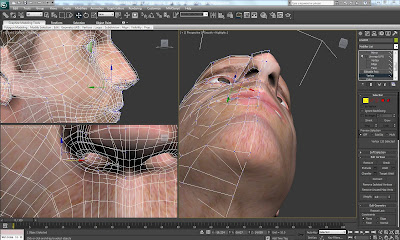
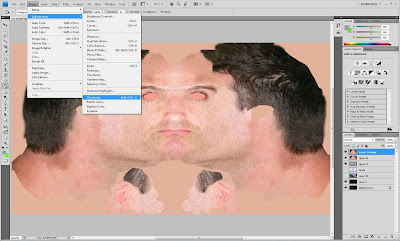
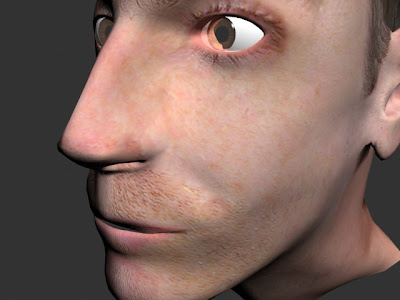
Really, all that I wanted to do with the eyes is to try and make the detail more realistic. This was achieved using the normal UVW Map. Where there was a change of colour by the eye I used the pen tool to isolate it. Then I filled this piece in with a light skin colour.

The eye area then was patched together using material from the existing eye skin texture, this allowed the detail of eyelashes to be transferred to the model.

Eyes:

Importing Normal UVW Map to Skin Texture:


Isolating the Eye Socket:


Socket Eye Skin Texture:


Modified Eye:


Final UVW Skin Texture Map:


Bump Mapping:

Bump Mapping allows the texture details in the face to be shown more accurately. (I.e. all the little hair and skin intricacies.)

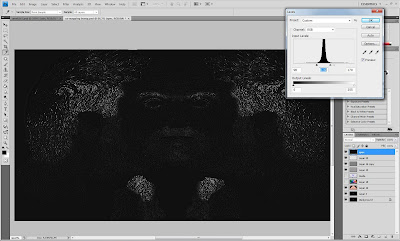
A new skin texture layer was copied and created within Photoshop. "Image Adjustment" was selected and then "Desaturate" within the sub menu to lose the colour information.


The 'Level' was then selected to adjust the black and white saturation. Within Filter - High Pass was selected which allows the bump textures to show through.
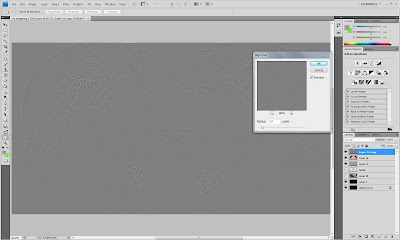


Final Bump Map:


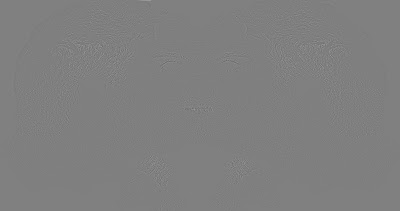
Then, within 3DS Max within the material editor, the bump map bitmap was selected through the bump mapping option and then the amount was decreased until a realistic skin texture was achieved.

Applying Bump Map Texture:
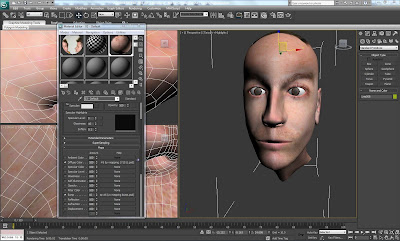


Bump Mapping:


Specular Texture:

The Bump Map was copied and pasted. Level was selected to make the image much darker. The opacity was decreased, then using the pen tool and changing the colour of the pen to white I started to draw in the areas that needed to have a little shine applied. The gaussian blur was then used to finish off creating the specular effect. This specular bitmap was then applied to the specular map panel within 3DS max.


Final Specular Map (Blur):

Friday 9 December 2011

GROUP: Final Evaluation

FINAL VIDEOS:

Full Version:


Edited Version:


(These videos are very low quality, as blogger has a file size restriction.)

I feel our group project was a success. It received good feedback from the client and the lecturers.

Given more time I think as a group we would have liked to have created more detail within our building, also our person would have been created a little bit smaller. Though time did prevent us from being able to achieve these minor details.

Overall, I think visually our final video is very effective and we approached and developed our ideas as a team successfully.

GROUP: Animating

The write up i did for group animating can be found on the group blog: (link below)

Group Animating

Monday 21 November 2011

GROUP: Adding Interior Details (part 5)

Interior Details:

Picture Frames:

A chamfer box was created and scaled to the size of a frame.


It was converted into an editable poly and face mode used to select the front face. the face was scaled down slightly and a bevel was applied scaling the face in a bit while scaling it down to create an outer edge.

The inner rim was created by copying this (shift and move), then in vertex selection pulling the outer edges of the face out to create finer corners and a kind of border effect, while again extruding a slight edge onto it and scaling it slightly smaller than the first frame.


I then combined the 2 items together, to create the structure of my frame.


I made several copies, to create our pictures throughout. Made planes and applied different images of finchingfield (some of our photos and a few selected images) to become our artwork, and added a glass "shiny/see through" effect using 'refraction' in the map modifier in attempt to make it more authentic.


Gallery Rendered:


I have left the frames quite plain and gold currently, though they look quite good, if required the frames could be further detailed or textured, depending on the style we wish to adopt.


Fridge Magnets:


(fridge magnet reference)

With our desire to put a few cheeky hidden items in our guildhall, I created a few magnets quickly for our fridge.

As I began creating splines and snapping the words of Finchingfield to a grid, Richard enlightened me that I could apply the text spline technique and create my style of lettering much more effectively and efficiently.

Here I was able to select the font and write the text of the intended word to create my letters. Arial Rounded was selected at it was very close to the style I wanted for my fridge magnets. I modified the scale and depth until satisfied.


I created a little box to join the dot to the body of the letter 'i' - to give a bit more authenticity and attached the two pieces of 'i'.

I then went through and individually detached the letters, allowing them to be manipulated individually.

I first just coloured the letters separately to see what they would look like:


I began texturing adding specular material in the editor, increasing the specular value a little to soften the letters a bit. I then selected the letters individually and added a colour to them, then copied the specular settings over the different balls in the material editor, changed ID numbers and selected different colours and applied them to varying letters.


I then individually applied a bevel to the front edges of the letters to give a slightly more realistic rounded feel. On a few letters ('n' and 'h') pinching occured in the render when the bevel value was applied so I had to work on the bevel to sort out the pinching in the corners.


Fridge Magnet Render:


I started to play around with a reflection map on the letters, importing an element from the environment it would be in (fridge, cooker) and adding it to the letters to give the effect of the fridge, I'm still playing around with this technique.

New Technique: Text Spline