Based on the comments given by Richard in the informal hand-in, there were a few things that i wished to continue working on and improve from my earlier development.
The next phase was to begin creating skin for my model.
In order to achieve this I began to map the skin of my face by taking the "NONE" UVW map and importing it into Photoshop.
Then taking my original photos, i began to cut sections of the skin from my photos and attempting to match up similar areas on the UVW Map. To do this the patch and lasso tool were used within Photoshop.
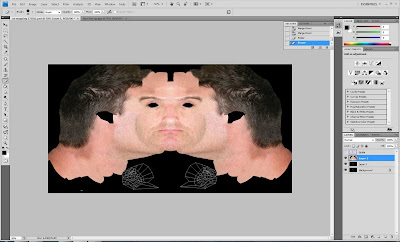
The same technique was used for the skin on the ears.
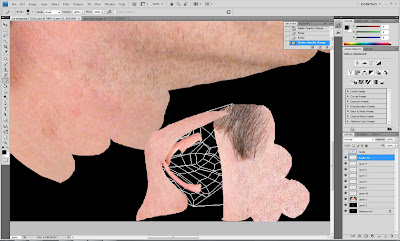
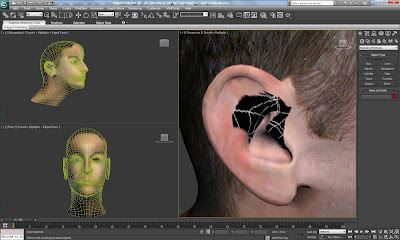
Once I was happy with the skin coverage on my UVW Map, the next phase was to tweak a few of the issues that were brought to my attention in the evaluation:
Firstly, that the nostrils needed to be a little larger and Secondly, that my eyes needed more detail and attention.
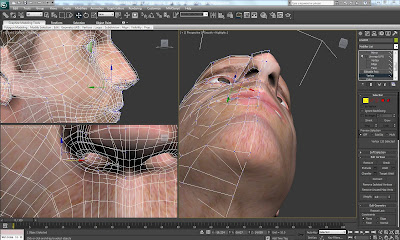
The nose was adapted simply by modifying the vertices around the nose, by pulling the vertices and making the nostrils slightly bigger.
Nose:
Really, all that I wanted to do with the eyes is to try and make the detail more realistic. This was achieved using the normal UVW Map. Where there was a change of colour by the eye I used the pen tool to isolate it. Then I filled this piece in with a light skin colour.
The eye area then was patched together using material from the existing eye skin texture, this allowed the detail of eyelashes to be transferred to the model.
Eyes:
Importing Normal UVW Map to Skin Texture:
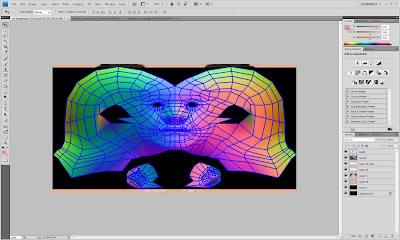
Isolating the Eye Socket:

Socket Eye Skin Texture:

Modified Eye:

Final UVW Skin Texture Map:

Bump Mapping:
Bump Mapping allows the texture details in the face to be shown more accurately. (I.e. all the little hair and skin intricacies.)
A new skin texture layer was copied and created within Photoshop. "Image Adjustment" was selected and then "Desaturate" within the sub menu to lose the colour information.
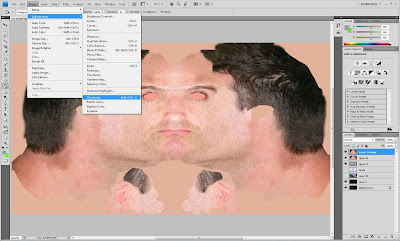
The 'Level' was then selected to adjust the black and white saturation. Within Filter - High Pass was selected which allows the bump textures to show through.
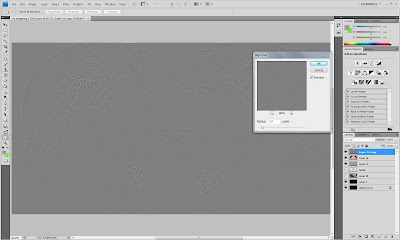
Final Bump Map:
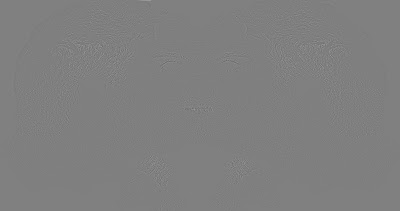
Then, within 3DS Max within the material editor, the bump map bitmap was selected through the bump mapping option and then the amount was decreased until a realistic skin texture was achieved.
Applying Bump Map Texture:
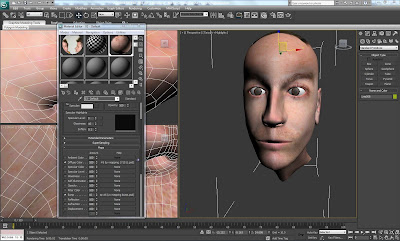
Bump Mapping:
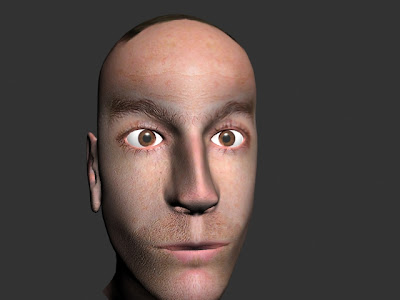
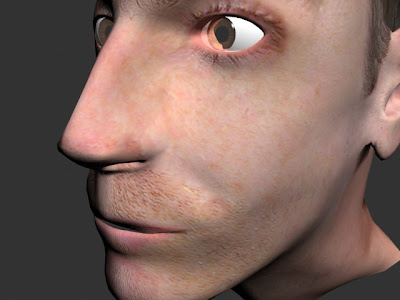
Specular Texture:
The Bump Map was copied and pasted. Level was selected to make the image much darker. The opacity was decreased, then using the pen tool and changing the colour of the pen to white I started to draw in the areas that needed to have a little shine applied. The gaussian blur was then used to finish off creating the specular effect. This specular bitmap was then applied to the specular map panel within 3DS max.
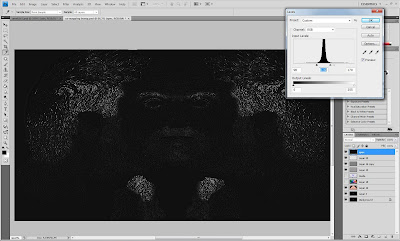
Final Specular Map (Blur):

No comments:
Post a Comment