Bathroom Items:
Sink:
In order to begin adding detail to the interior of our guildhall, we needed to create details to make our room more authentic. Items to model were divided up amongst the group.
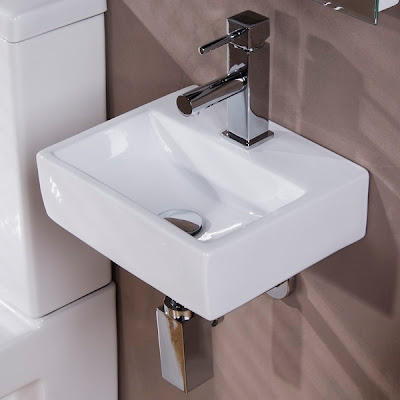
As often using 3ds max, a reference picture is selected for a basis for your model and imported into 3ds max using a plane.

(sink reference plane)
Sink Creation:
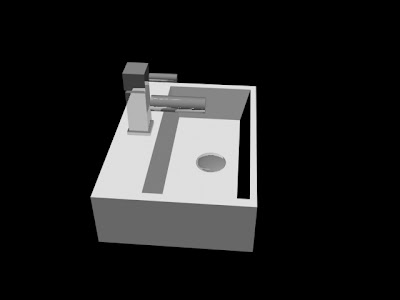
In order to create a sink a box was created. The swift loop was used to create new vertices to define where the inside of the sink would be bevelled (downwards to create the basin space).
The swift loop technique was a method that I had not previously used and has become a very handy technique for further models throughout this project.
A small sphere was also created to act as the drainer/plug detail of the sink.
A similar method was used to create the tap, using swift loop to define the tap area. The faces were selected and the tap detail was extruded upwards to create the shape. The bevel tool was then used to create the partitions/ sections within the tap shape. Two cylinders were created, scaled and attached to make the tap bars.

The whole model was selected and polygon material ID's were applied and set to ID1, the tap was selected and changed the ID to 2 and in the material editor applied multi/sub-object texture and set the number to 2 (to define 2 ID's). ID1 was made white and on ID2 a reflection map (raytrace) was created to illustrate the metallic texture for the tap and drainage plug. The materials were then applied to the models.

Sink Render:

Toilet:

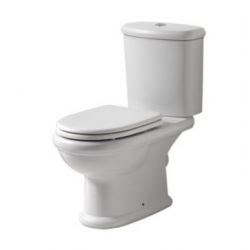
(toilet reference)
Toilet Creation:
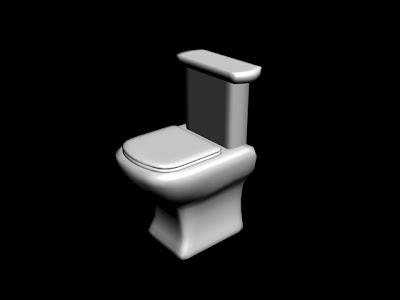
A box was created for the cistern, edge mode was used to select the vertical "inside" edges to manipulate and create a smoother shape. Polygon selection was used to isolate the front centre section of the model. In the polygon smoothing group panel, a different value was selected from the rest of the model, (to generate the effect of smoothing the sides and the face edges together). Turbosmooth was applied from the modifier list and 'smoothing groups' ticked.
This was modified until it looked authentic.
The same technique was used to create the top of the toilet and the seat.

(smooth groups)
A box was created for the bottom section of the toilet. Half the box was deleted in order to apply the symmetry modifier afterwards. The box was converted into an editable poly and vertex selection was used to modify the shape to match it up with the shape of the selected reference image.
Symmetry modifier was applied and mirror axis was selected as 'x' and flip was ticked. The turbosmooth modifier was applied to smooth out the shape.
Toilet Render:

New Techniques: Swift Loop, Smoothing Groups.
No comments:
Post a Comment