Book:

(book reference/texture)
The idea of placing certain items in reference to Finchingfield research within our environment seemed a fun way to create some intricate interior details. Dodie Smith, one of the village's famous authors wrote 101 Dalmatians, so we decided to create a book to place within our world.
A plane was made and material bitmap book cover image (as above) was applied. In the modifier panel the lengths/width segments were changed down to 1 and it was converted to an editable poly.
The UVW mapping modifier was applied (a new technique for me in reference to texturing items). Border selection was selected and 'shift' held to drag out the depth of the book.
The Unwrap UVW modifier was selected, the front was selected and 'planar' in map parameters, choosing 'align y'. Planar was then unselected and 'edit' chosen in the parameters. In the edit UVW window the material image was selected from the drop down box and freeform mode was used to scale the map to match it to the size of the book cover.
The same technique was applied to the sides of the book, but instead of cover material I added white space for the effect of the pages.

Book Render:

Protractor:
One of our main ideas from our storyboards is that we will have a workbench with a blueprint on that we will use as a platform for an animation phase. So we decided to make a few detailed items that would traditionally be used in this environment. (Protractor, ruler, compass etc..)
A reference plane was created and image applied. As with the book the UVW map modifier was selected and (length/width) were lowered to 1 segment.
The object was converted to an editable poly and vertex selection was used to move the vertices.
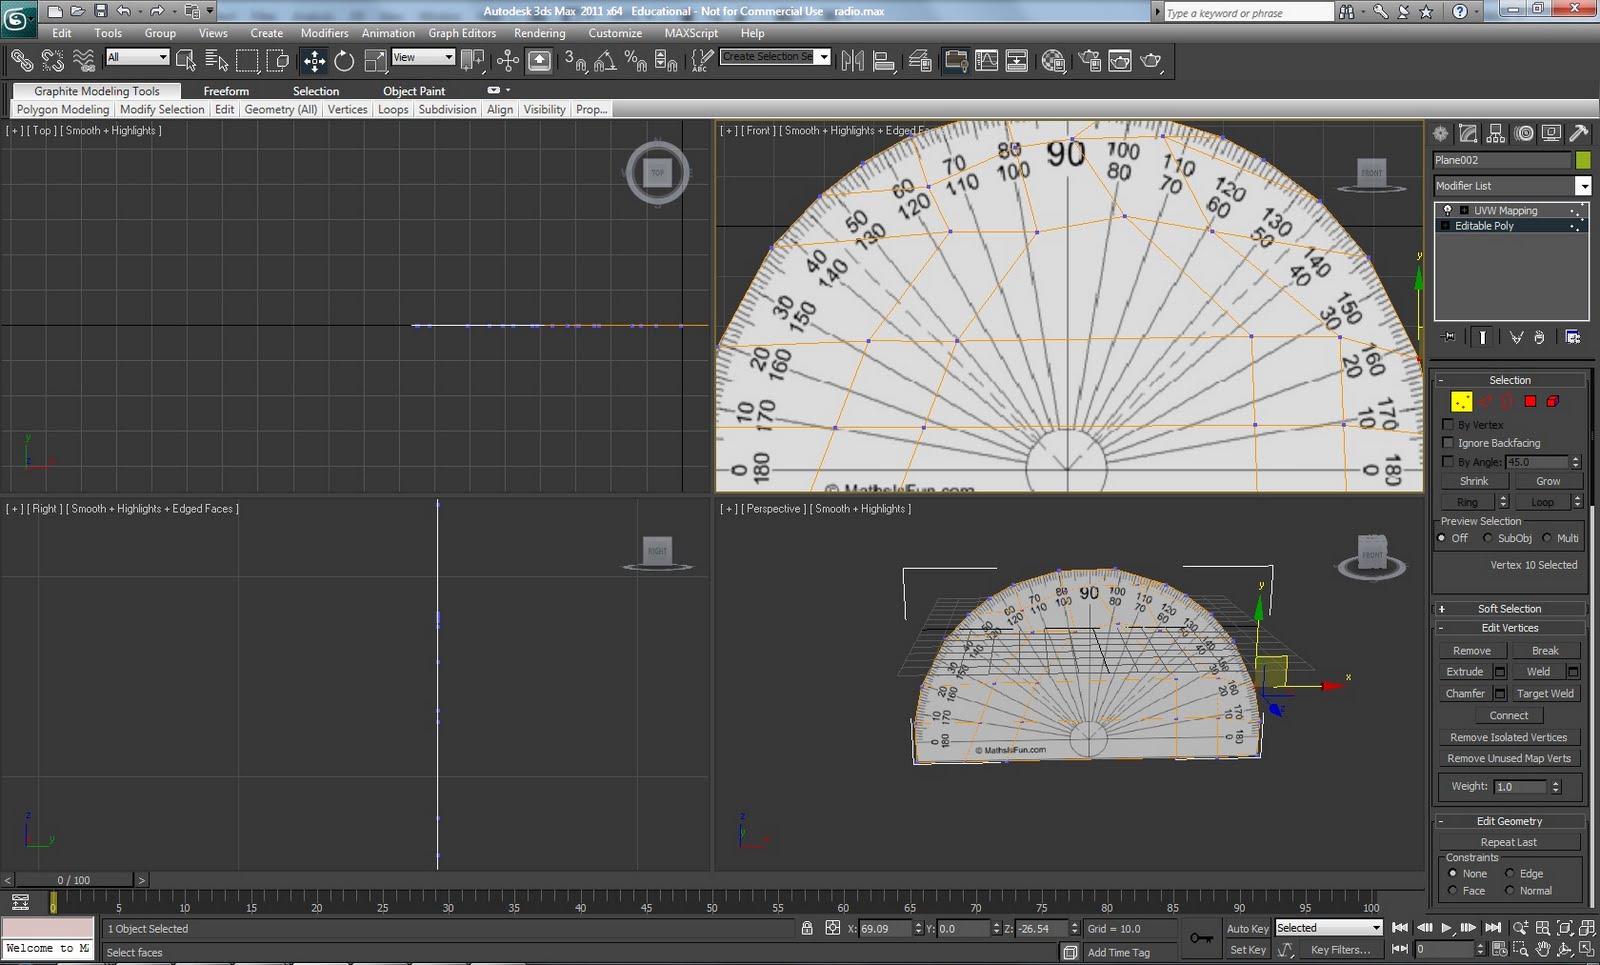
Swift loop was used to define the area, then using vertex selection I began to move the vertices to the shape of the image, carefully as not to distort the image.
Once I was happy that the shape of the protractor looked realistic, I applied the turbosmooth modifier to smooth out the corners.

Protractor Render:

To create a more see through effect on the protractor, within the material editor the value of the opacity was lowered, to create a more realistic opaque model.

Lights:

(one of our photographs - used as a light reference)
A Tube was created and converted into an editable poly. Polygon selection was used, all the bottom face selected and extruded outwards.
The scale tool was used to scale all of the edges wider in order to create a lamp shape. Vertex selection was selected and some of the bottom vertices were pulled out attempting to create a the bottom of the shade, matching it up to the reference plane.

A tube was created and scaled down to create a thin mount bar for the light and was attached to the shade.
The Material ID within the modify was set to 1 (whole lamp selected). Swift loop was used to add a new set of vertical edges in order to create the lead lines.
Polygon mode was selected to highlight the gradient sections of the light shade, then within the material editor 'multi/sub-object' was chosen to make varying colours of glass by selecting 'Refraction' within map parameters and applying a 'raytrace' map to attempt to create a "see through" effect. The amount was decreased slightly to allow the colour to show through attempting to keep a nice balance; not too opaque while keeping definition.
The Lead effect (done in the same way as above) but instead of refraction, the reflection map was used and the amount lowered to remove the shine a bit. These materials were then applied to the selected parts of the light and mount bar.

Light Render:

New Techniques: UVW Mapping (Texturing Items)
No comments:
Post a Comment